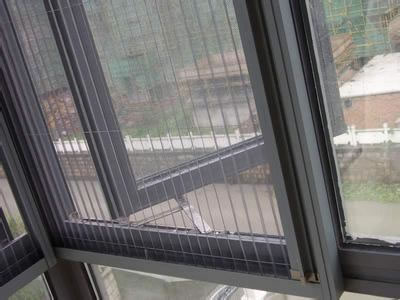
Replacement Insect Screen
How to replacement insect screen
1 Lay the screening over the frame. Lay the frame down with the channel side up. Tape the center of each outside edge of the frame to your work surface to secure it. Lay the screening over the frame.
2 Cut the screening to size. Using scissors or a utility knife, cut the screening 1 inch larger and wider than the frame so that the screen material overlaps the channel a 1⁄2 inch on all sides. Cut the corners of the screen material down the center to create 45-degree angled pieces that will overlap at the frame corners to create a neater corner. If using pull tabs, insert into the frame spline channel at the bottom of the frame opposite the tension springs.
3 Roll the spline into the frame with the screen tool. If using aluminum, solar or pet screening, use the round end of the spline tool to roll the screening into the spline channel. This causes the screening to conform to the shape of the channel and will make it much easier to roll the spline into place.
Starting at the corner and using the grooved end of the spline tool, roll the spline into the channel on top of the screen to hold the screen in place. Hold the screen material straight and taut for the best finished appearance.
4 Trim excess screen. When all four sides are completed, trim the excess screening with a utility knife by using the top of the spline as a cutting guide and the outside of the spline channel as the cutting surface.
